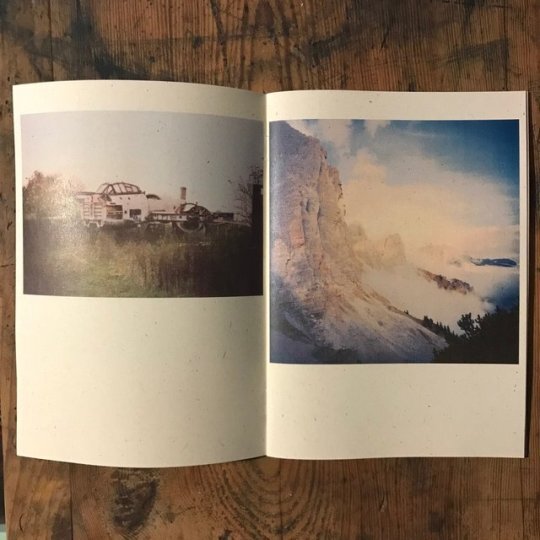
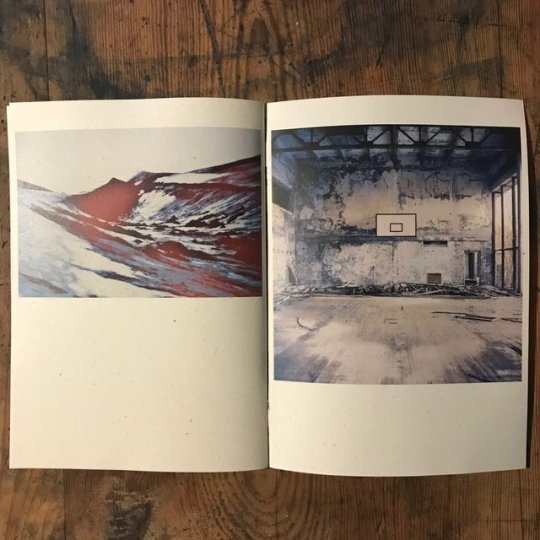
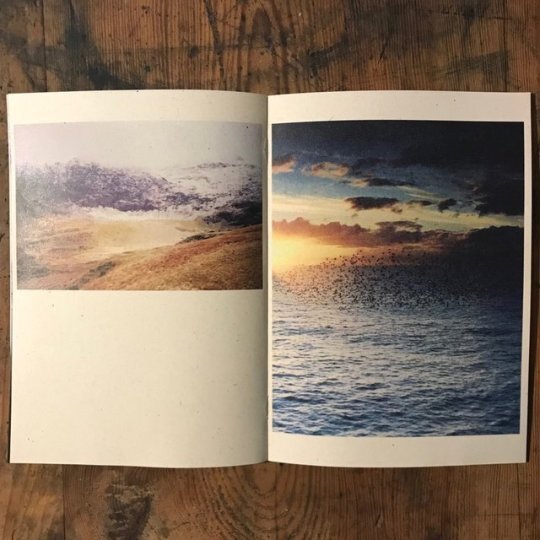
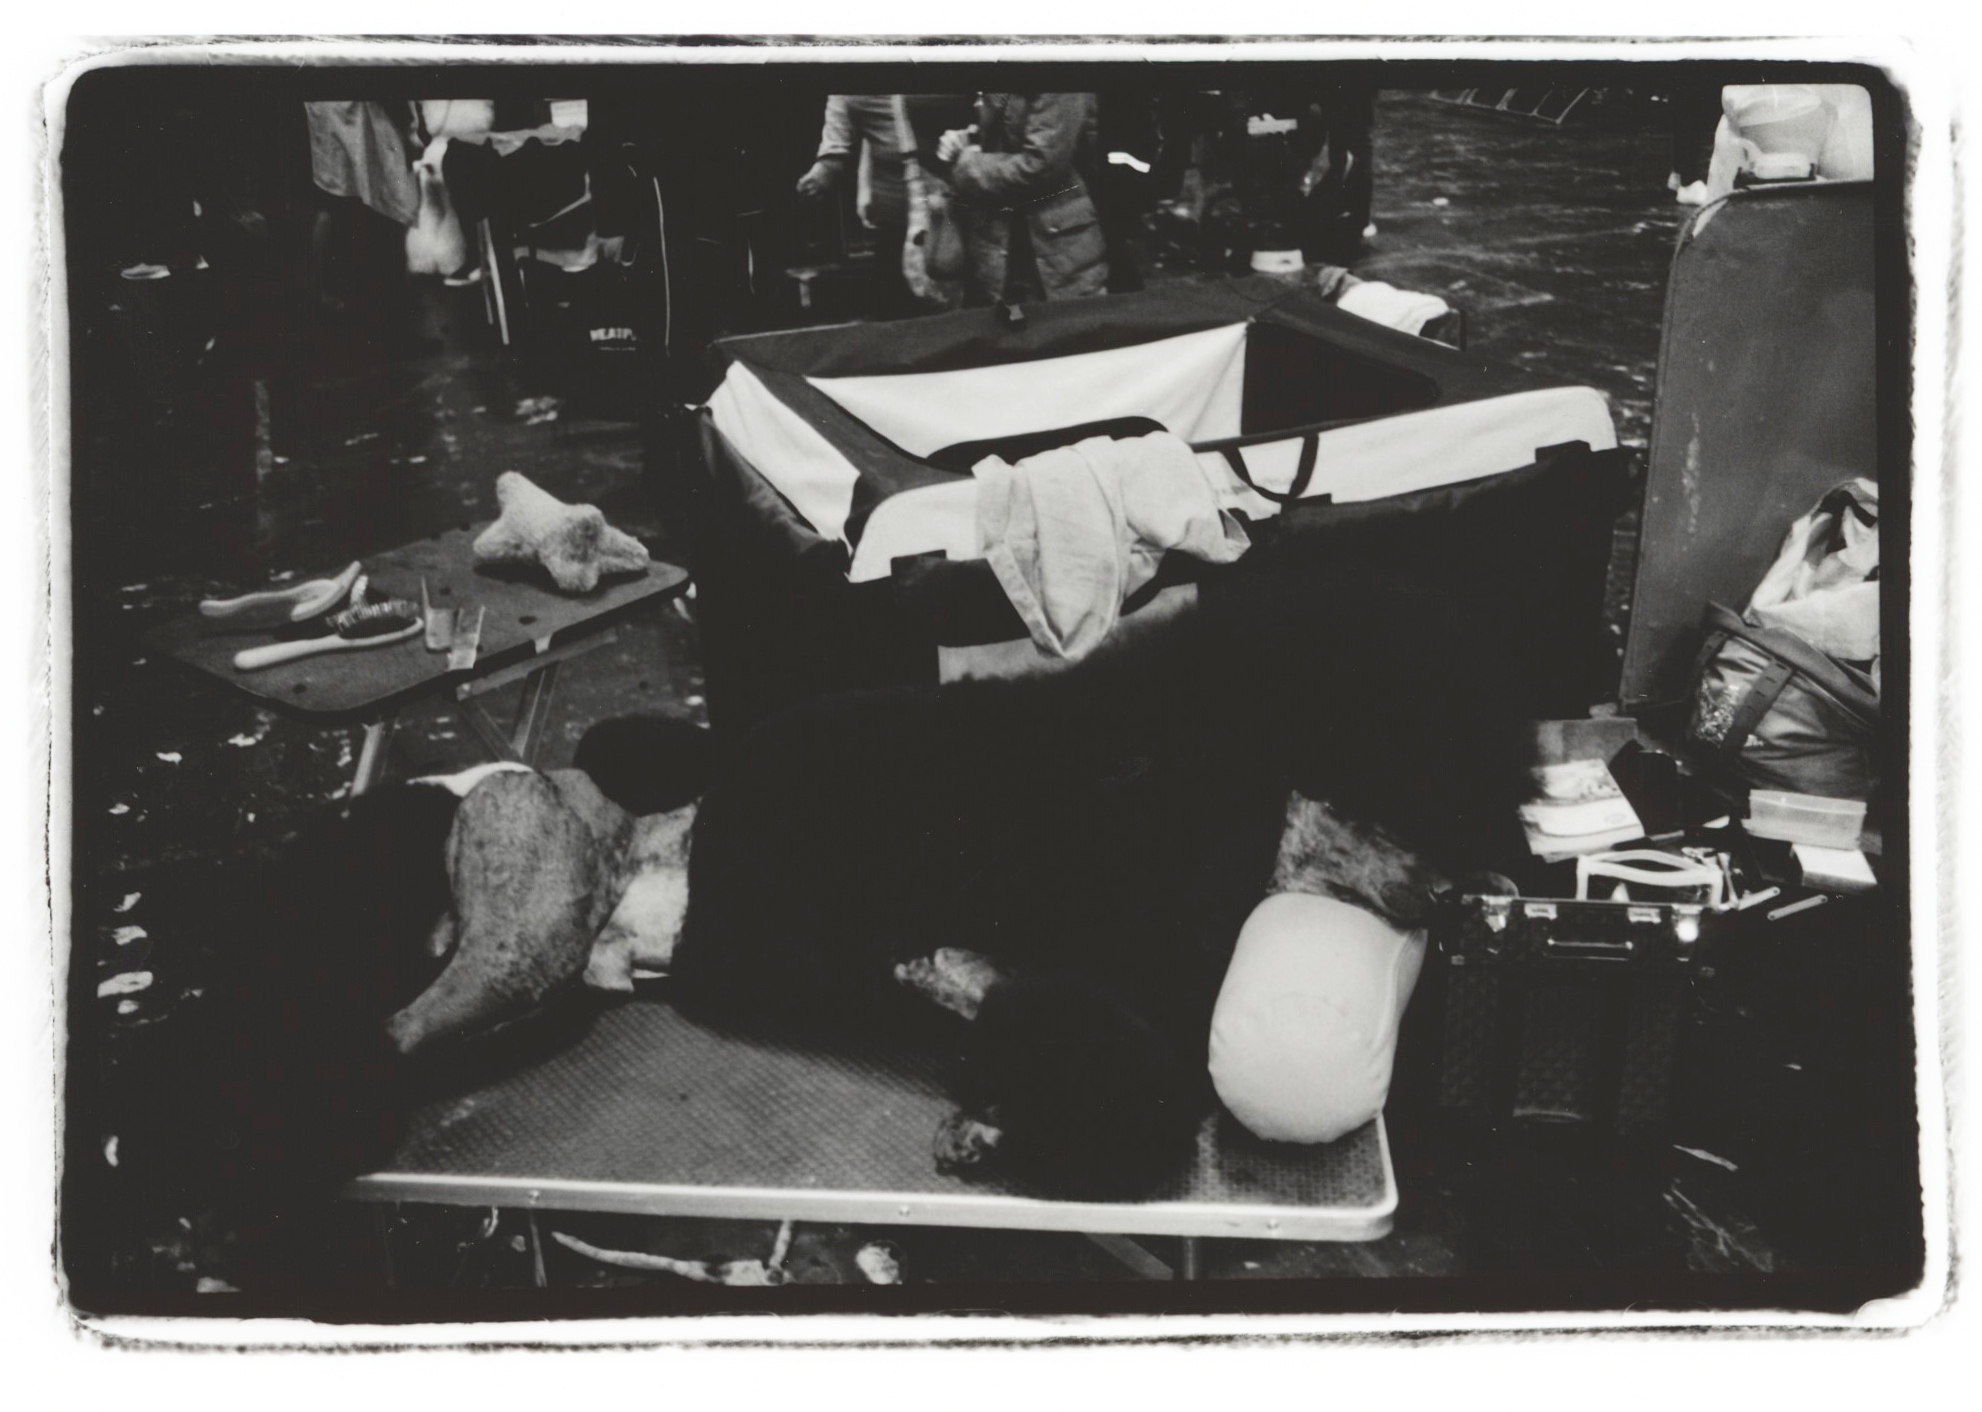
Collected landscapes and abandoned places in a 20 page zine
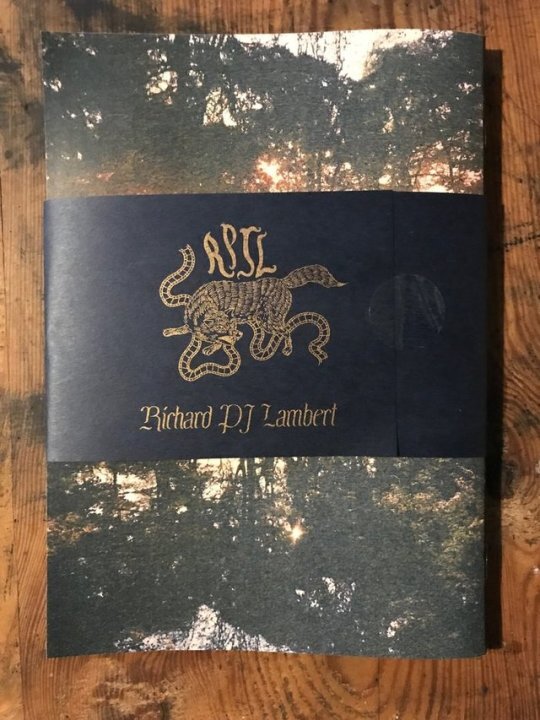
richard lambert

Collected landscapes and abandoned places in a 20 page zine


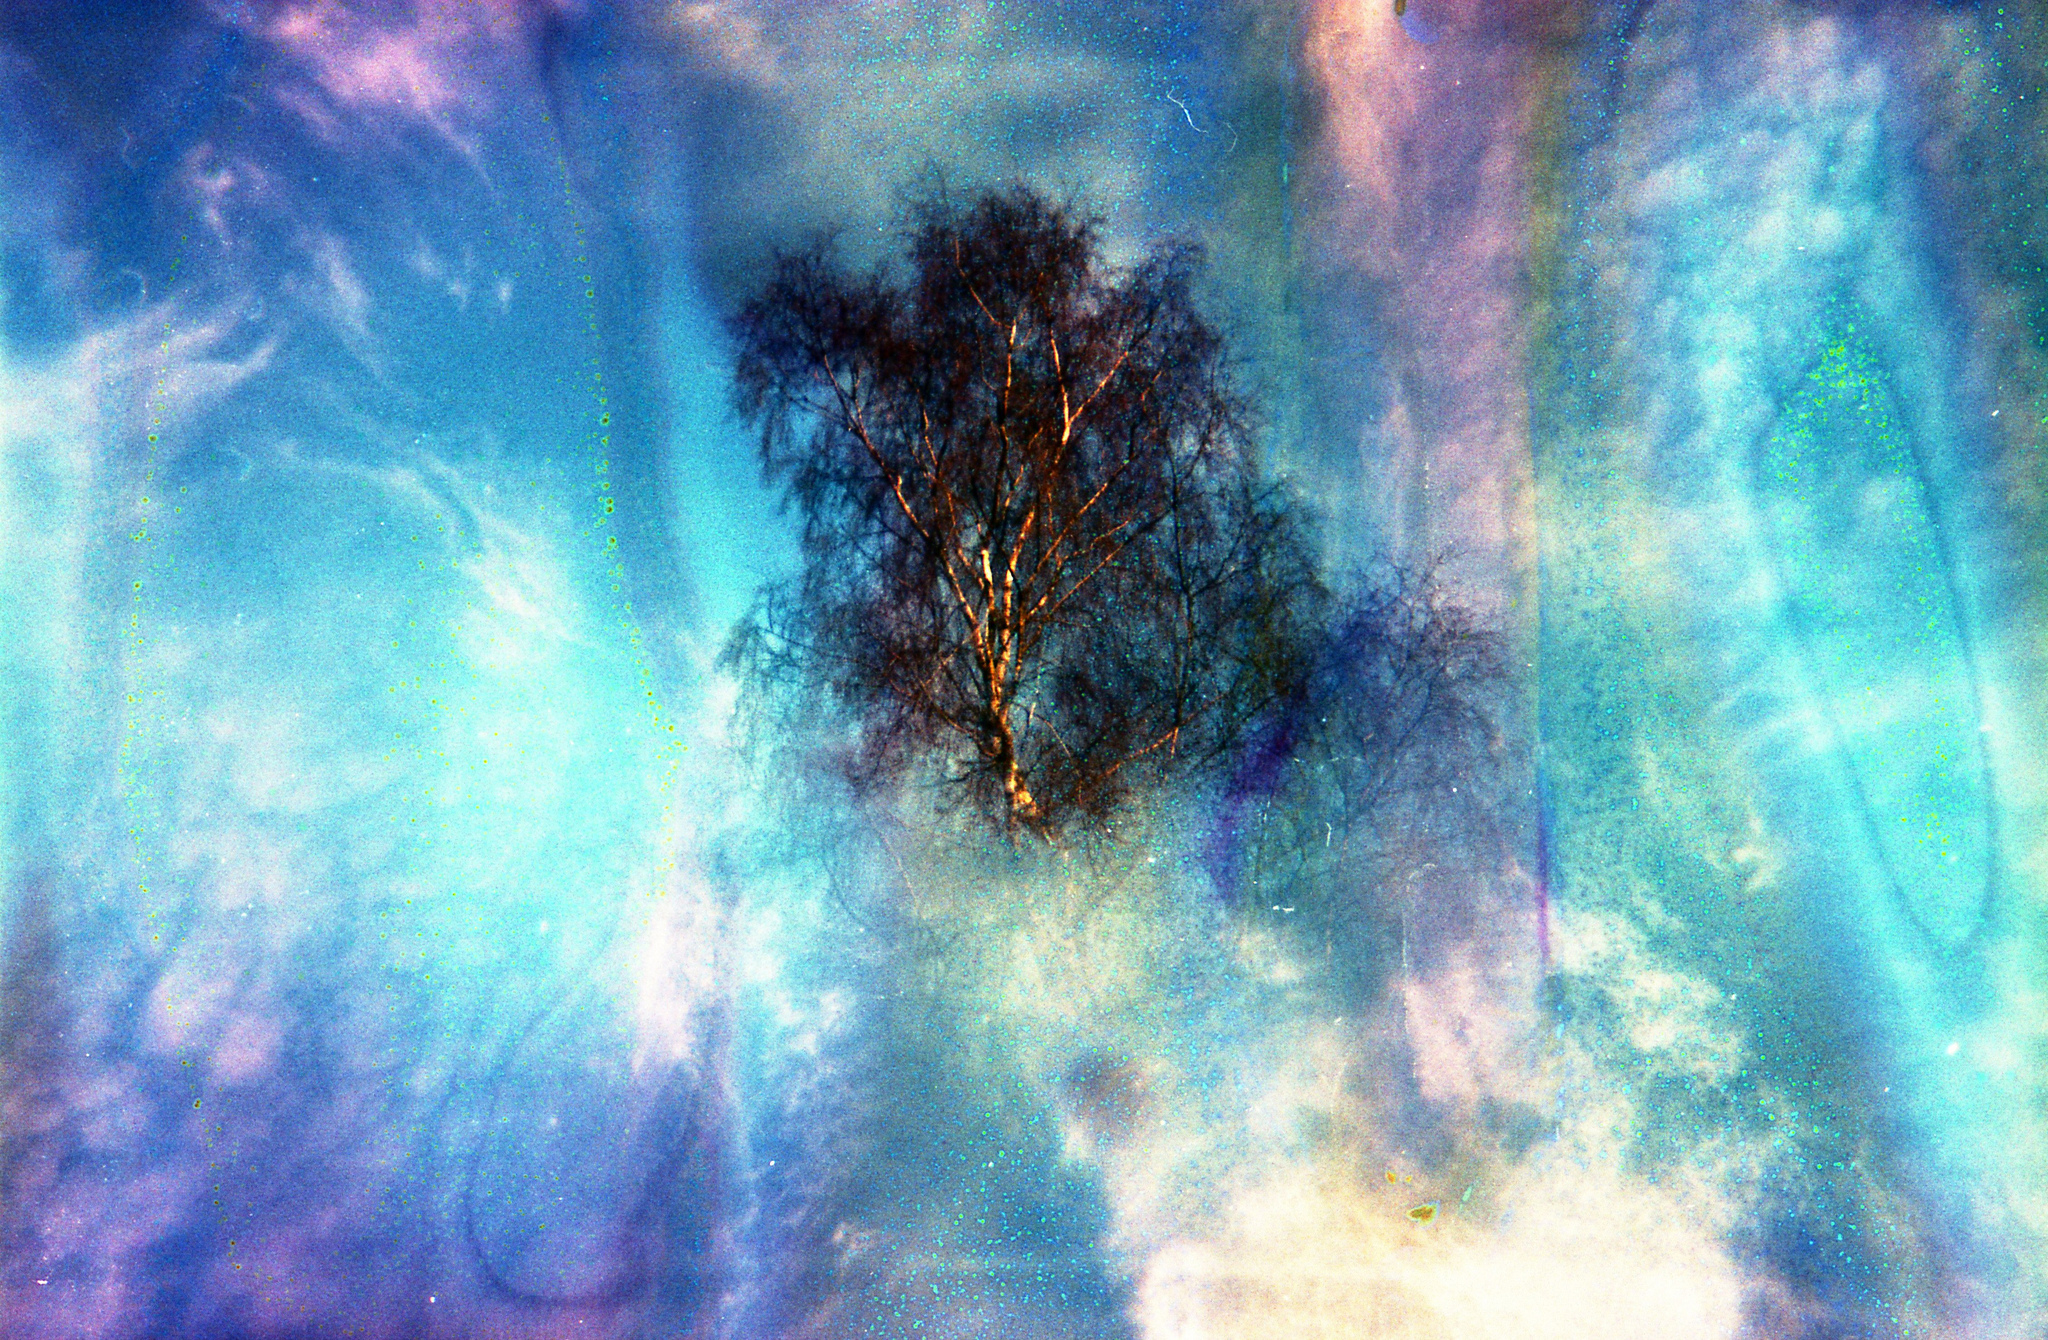
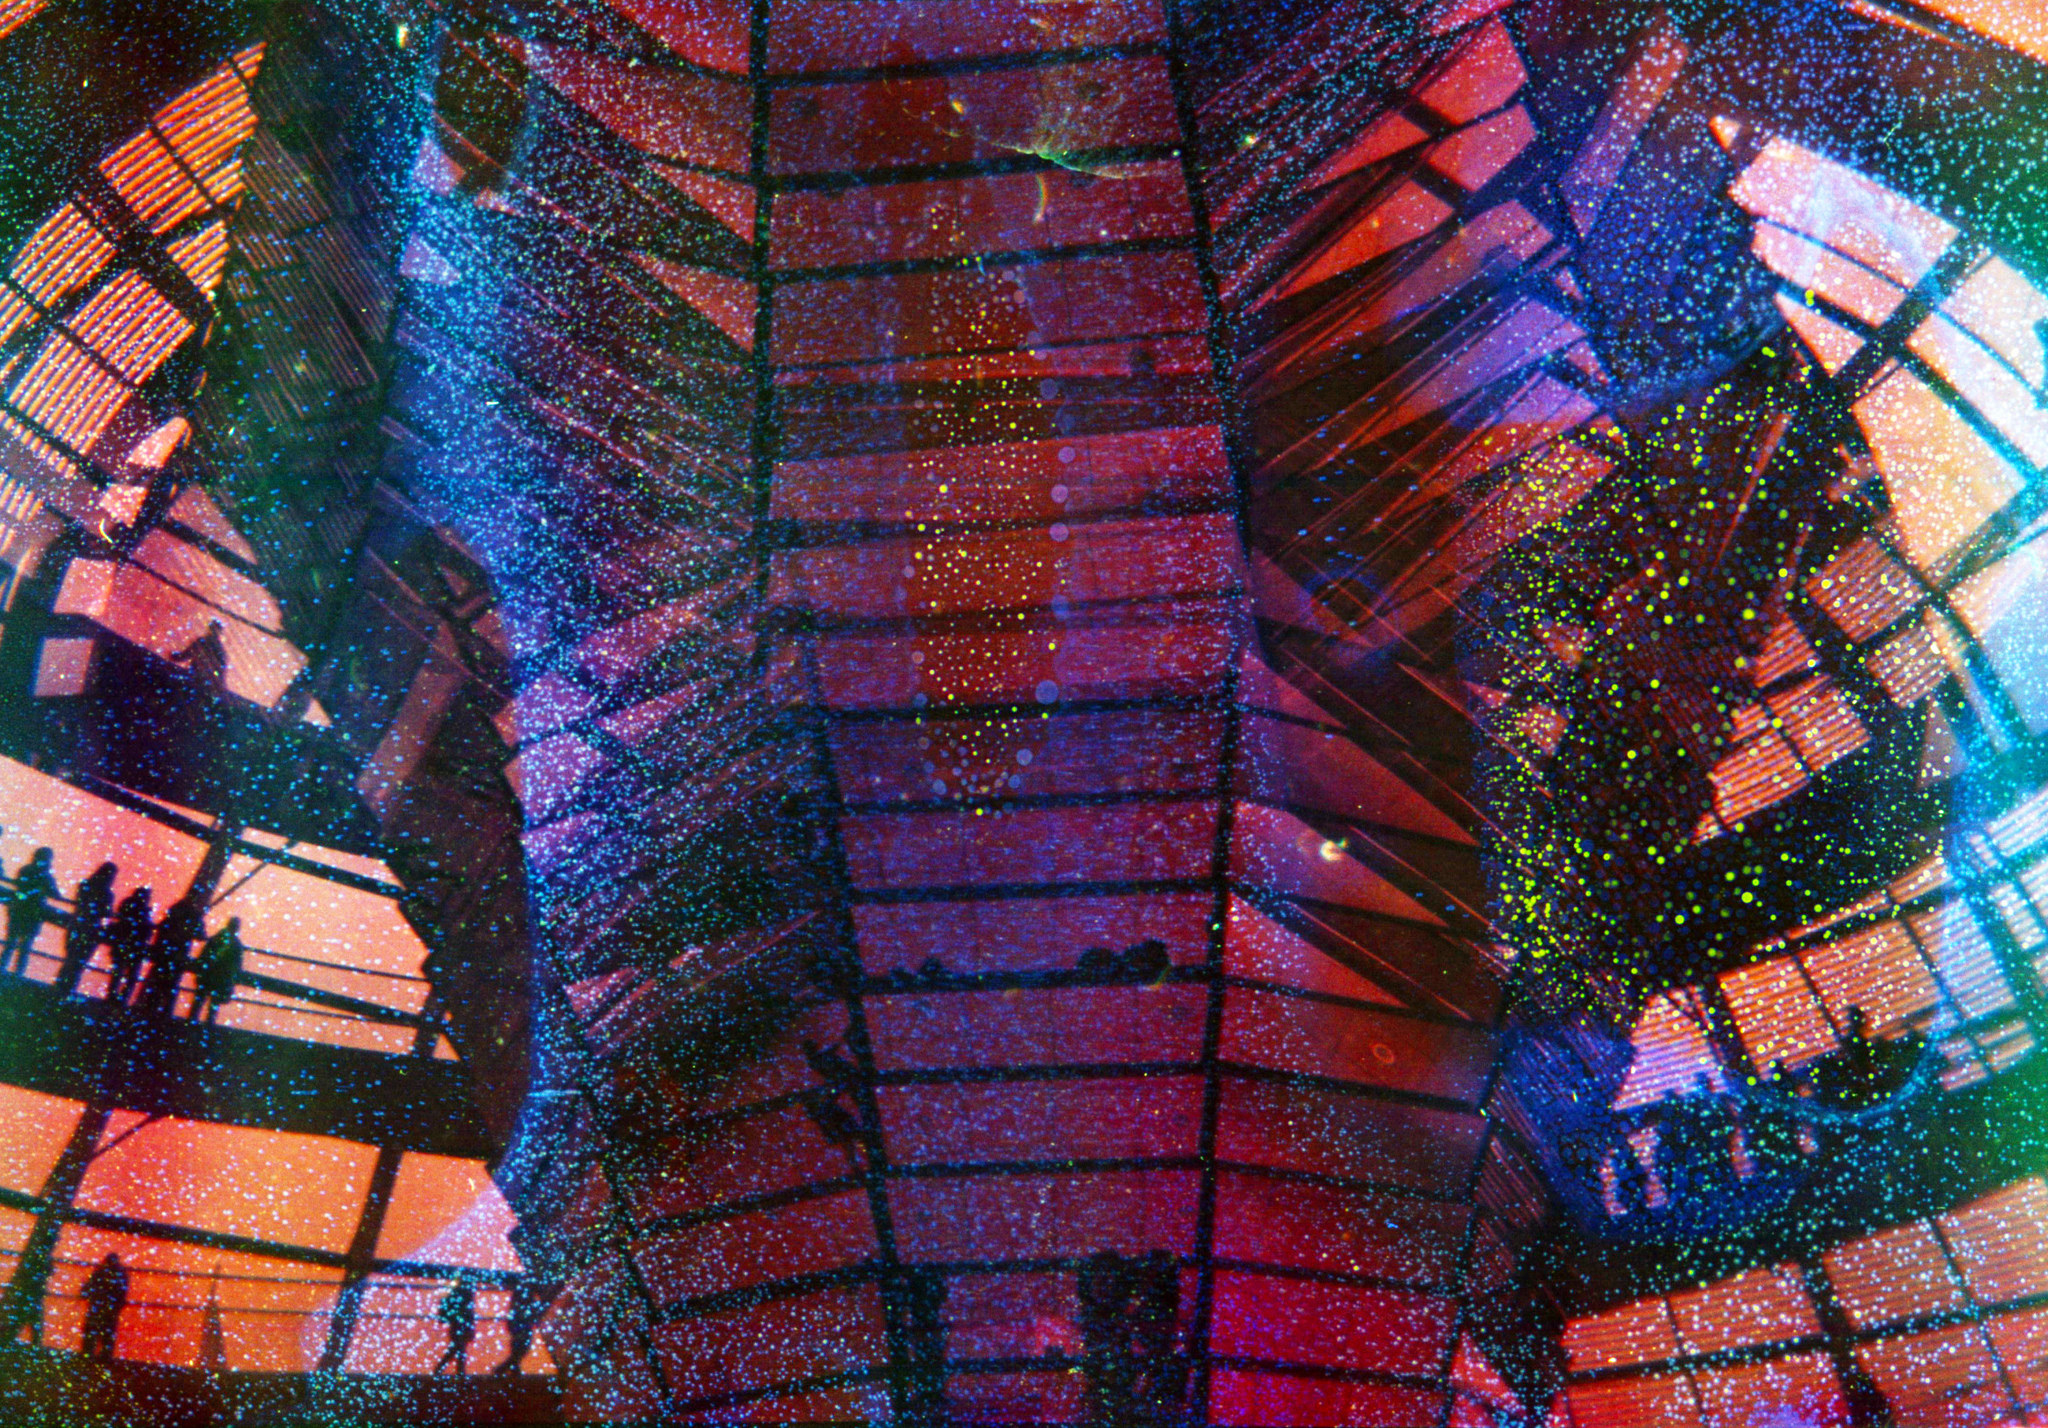
Although time consuming, using soup to play with your negatives is cheap and easy, giving unpredictable and unique results. This the way I do it:
1. Shoot any roll of film in any camera you like.
2. Boil canister for 10 minutes in water or soup.
3. Pour soup and canister into a jar. Leave to stand in the solution for 24+ hours.
4. Rinse canister with running water for 10 minutes
5. Leave to dry (an airing cupboard or sunny shelf is good) for 24+ hours.
6. Get it developed

1. Shoot: I can’t see a difference between doing this before or after you shoot a roll, so in order to preserve the insides of my cameras, I always soup the film afterwards. I just use whatever I can get from pound land but you can probably get some really crazy results from slide film.
2. Soup: Make the soup and boil. My favourite recipe is silica gel (the packets you get in a shoe box) and detergent mixed in water. I was slightly surprised that the silica gel pearls didn’t dissolve, so they got crunched up and swirled around a bit. Pour into a saucepan, drop the in the canister and boil for 10 minutes.
3. Standing: Let it stand in the soup - the longer you leave it, the more pronounced the effect. I leave mine about 24-48 hours.
4. Washing: You will need to wash the film of any contaminants and dry it off before taking it to your lab, or else it may screw up their chemicals. To wash, I ran water through the canister for five / ten minutes.
5. Drying: Got bored waiting so I stuck the rolls in the oven which was a dumbass idea because it melted the spooler and made it too difficult for my local lab to retrieve the film. Probably best to be patient and leave on the radiator.
6. Processing: My local lab doesn’t have a dedicated darkroom and they didn’t like the idea of putting a melted, sticky roll in their automatic machine. If you explain to them, larger places can either wash the film beforehand or develop at the end of their chemical’s run.
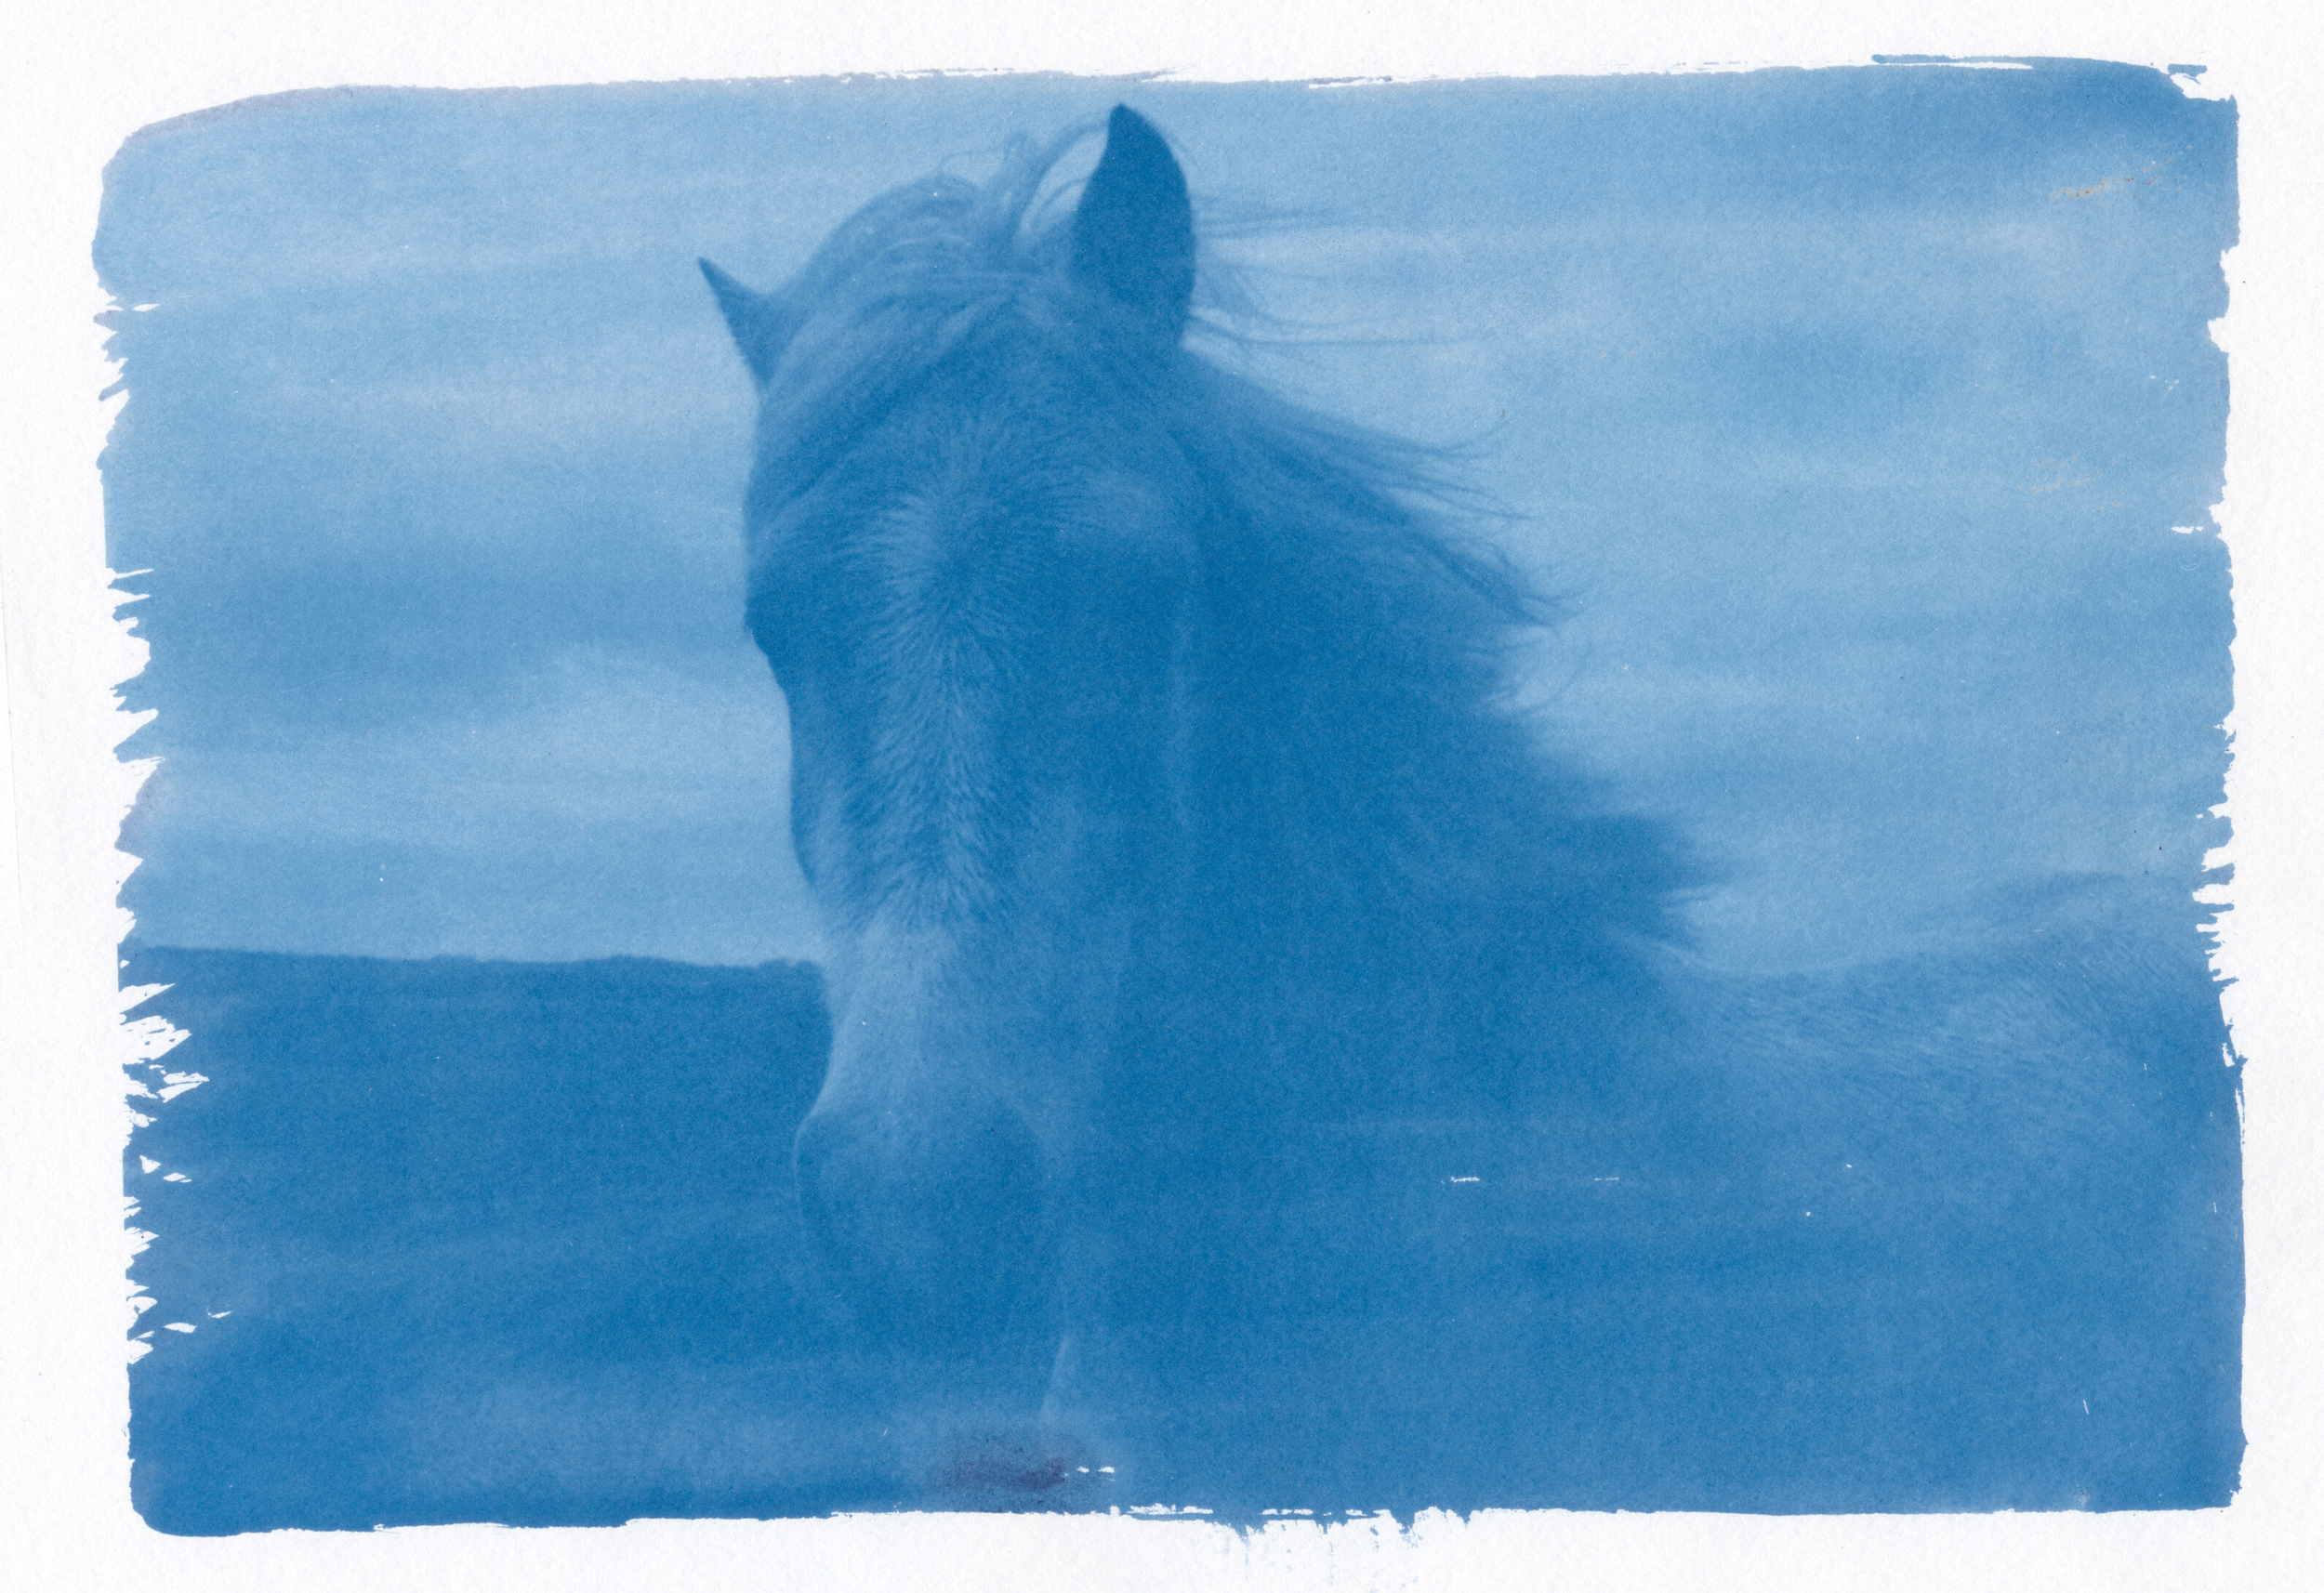
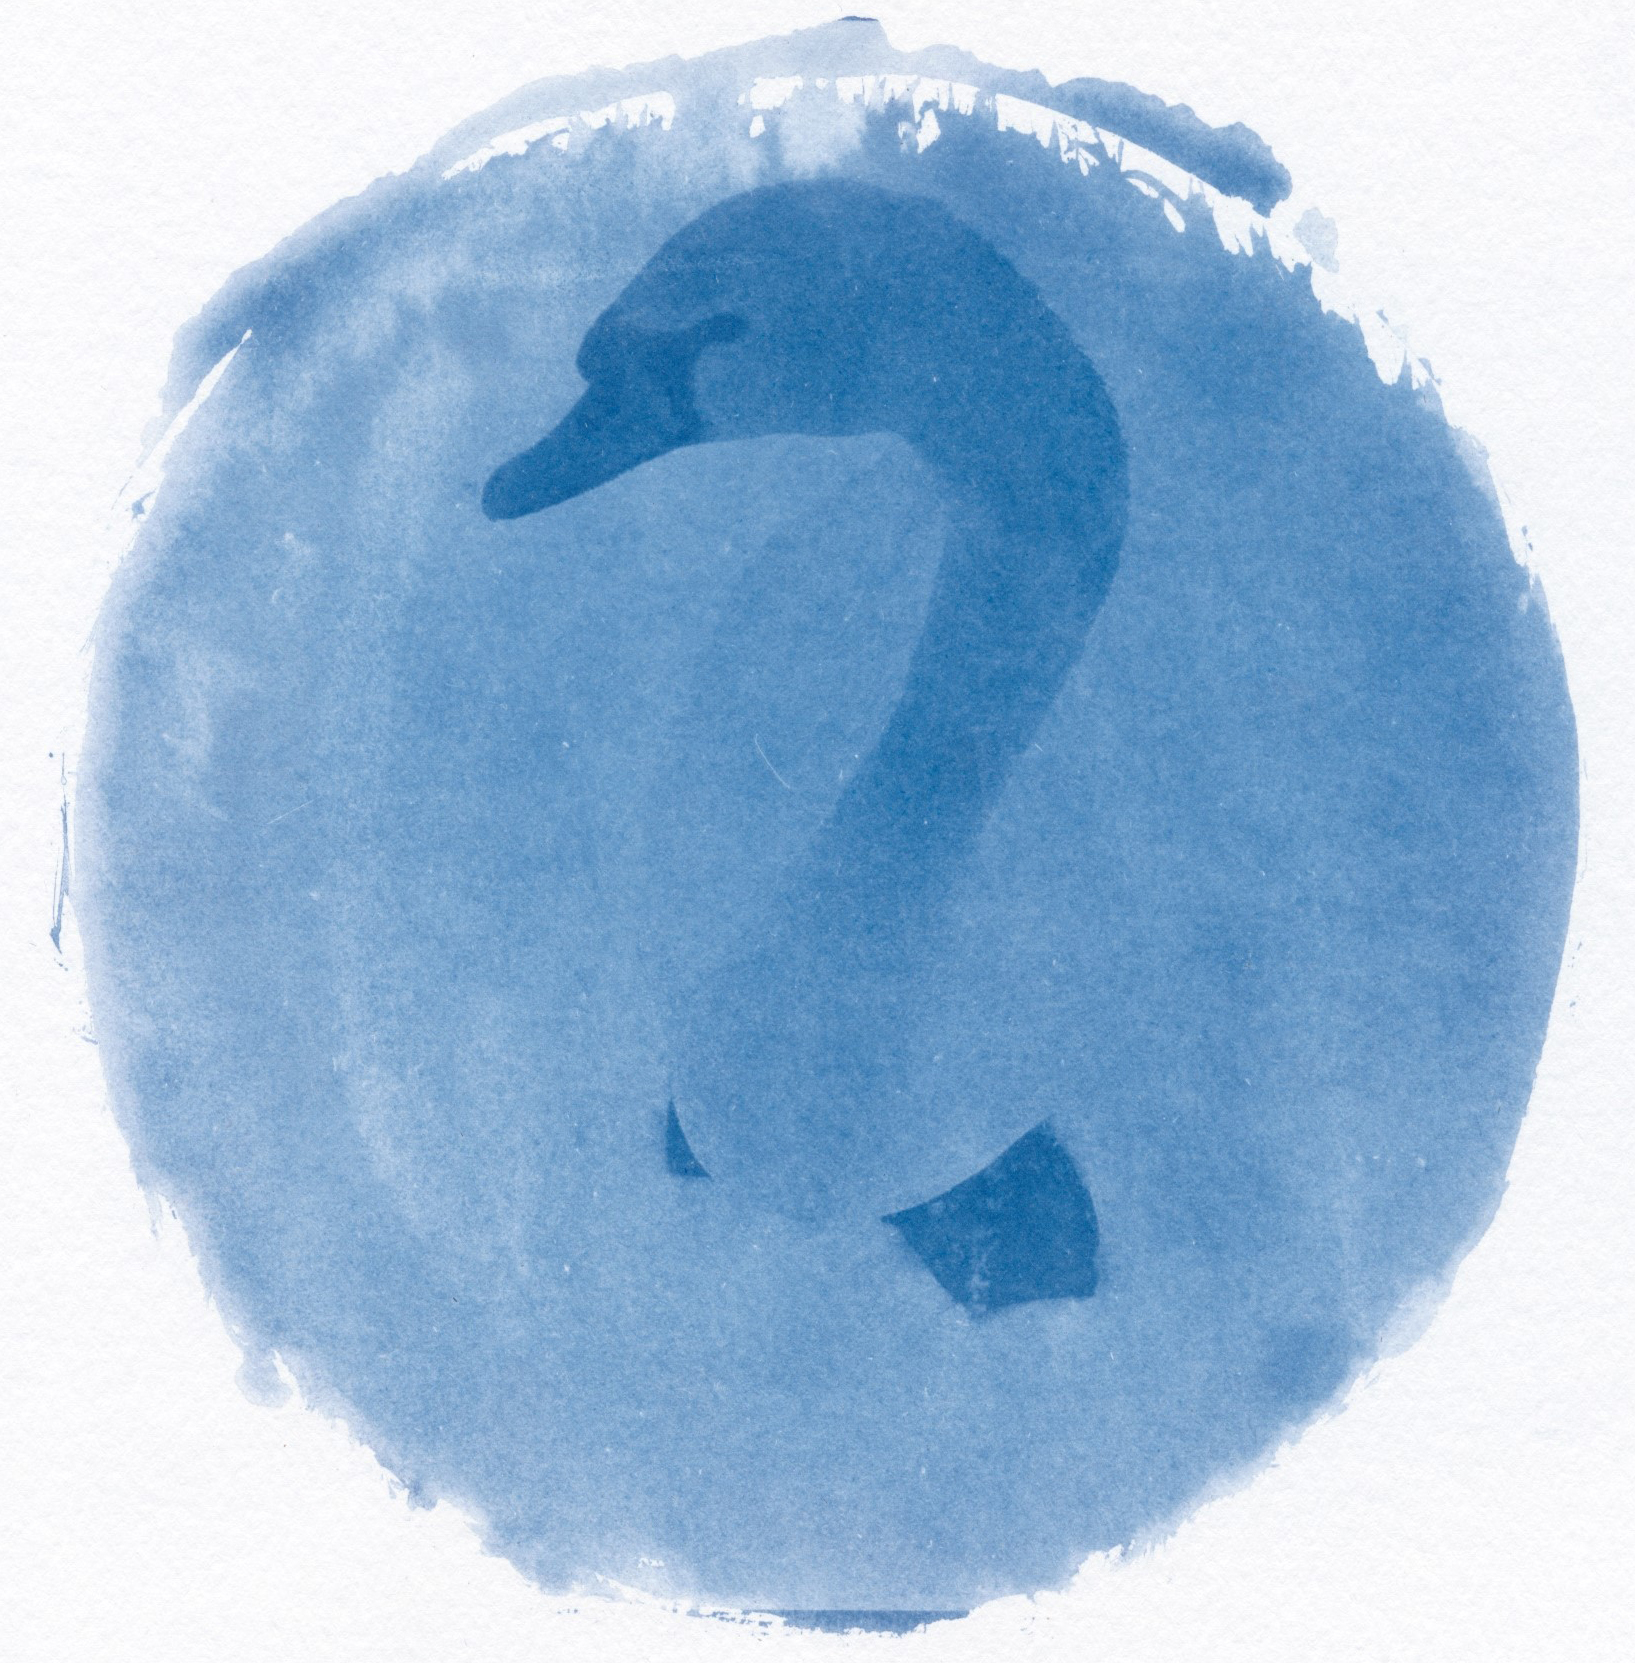
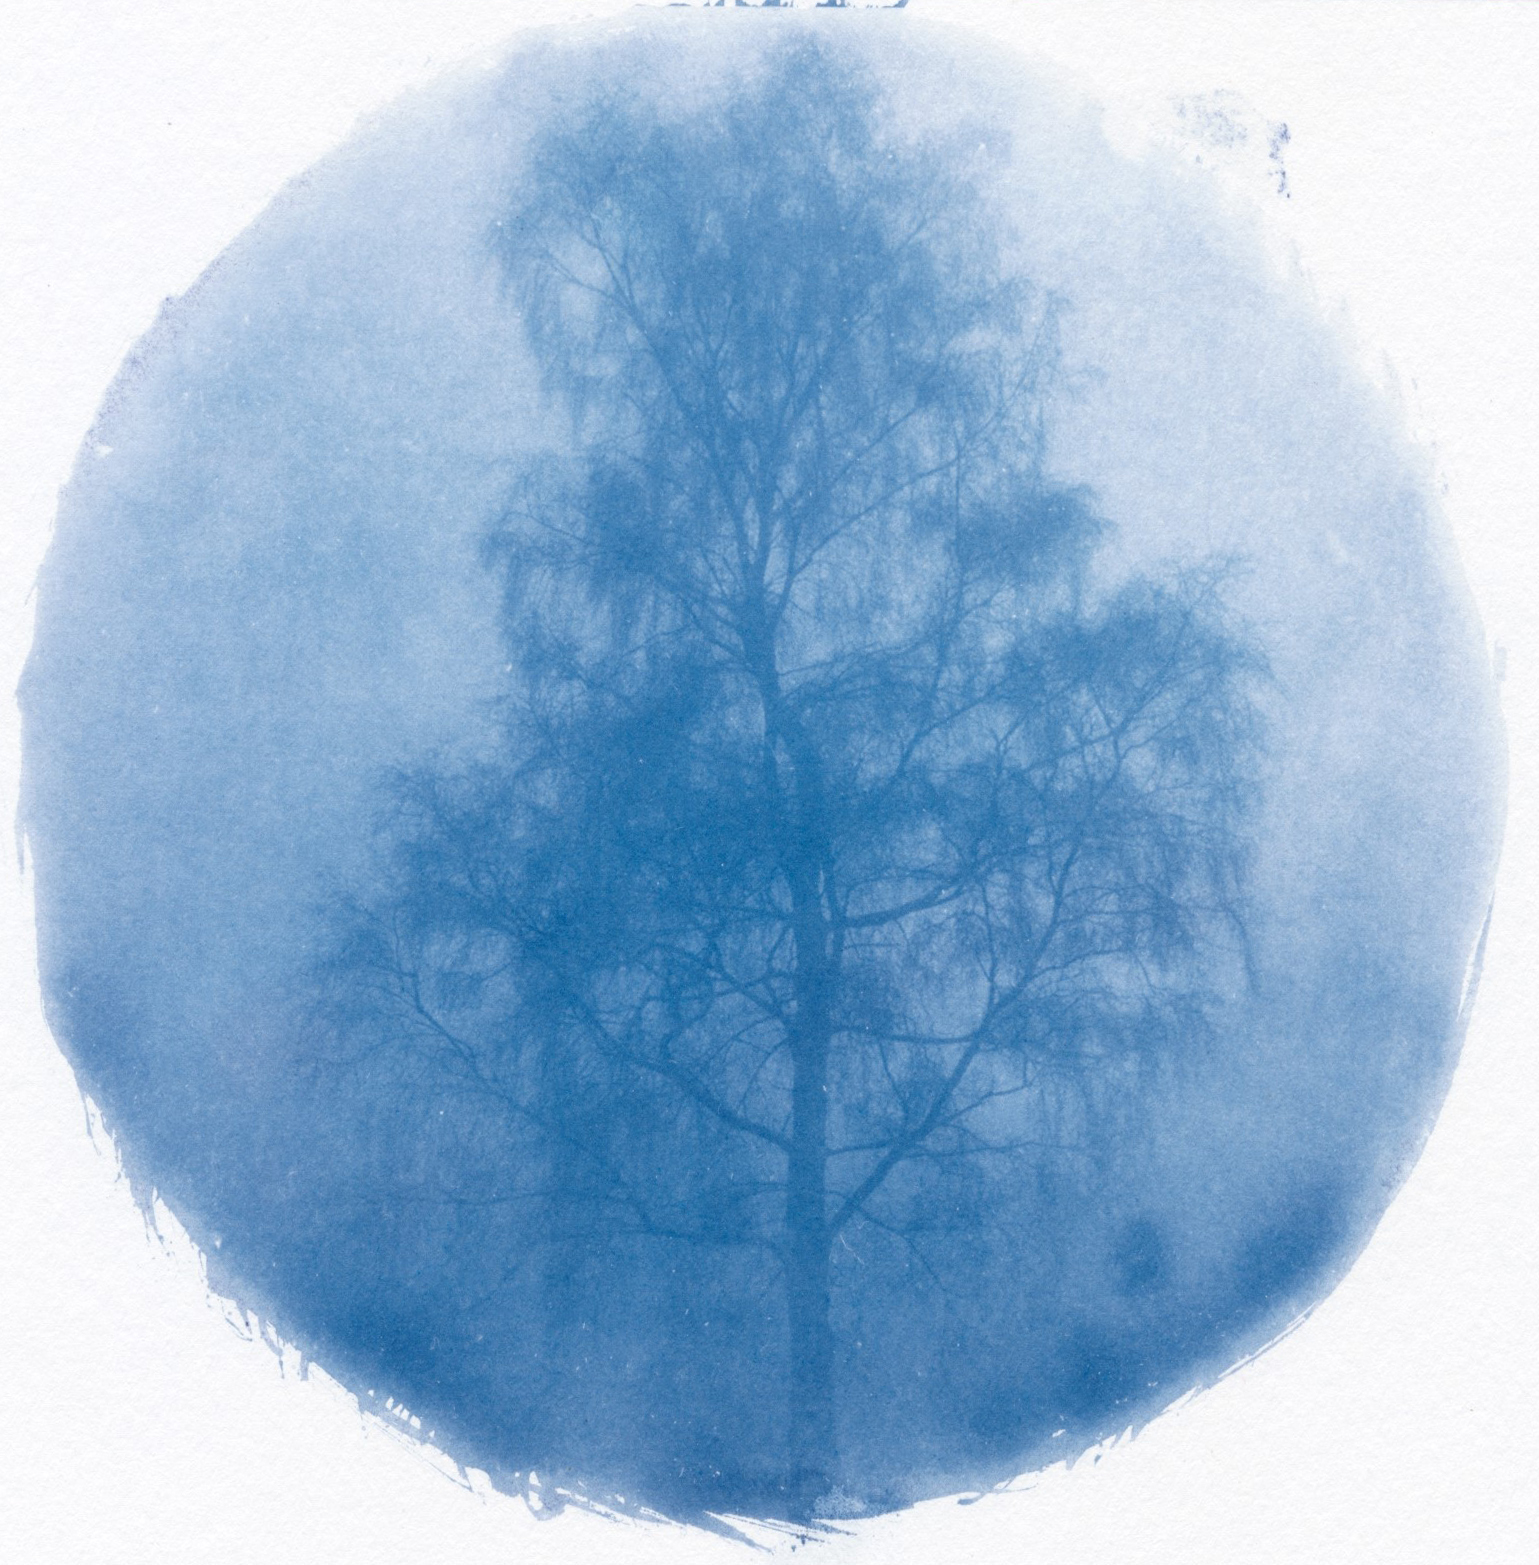
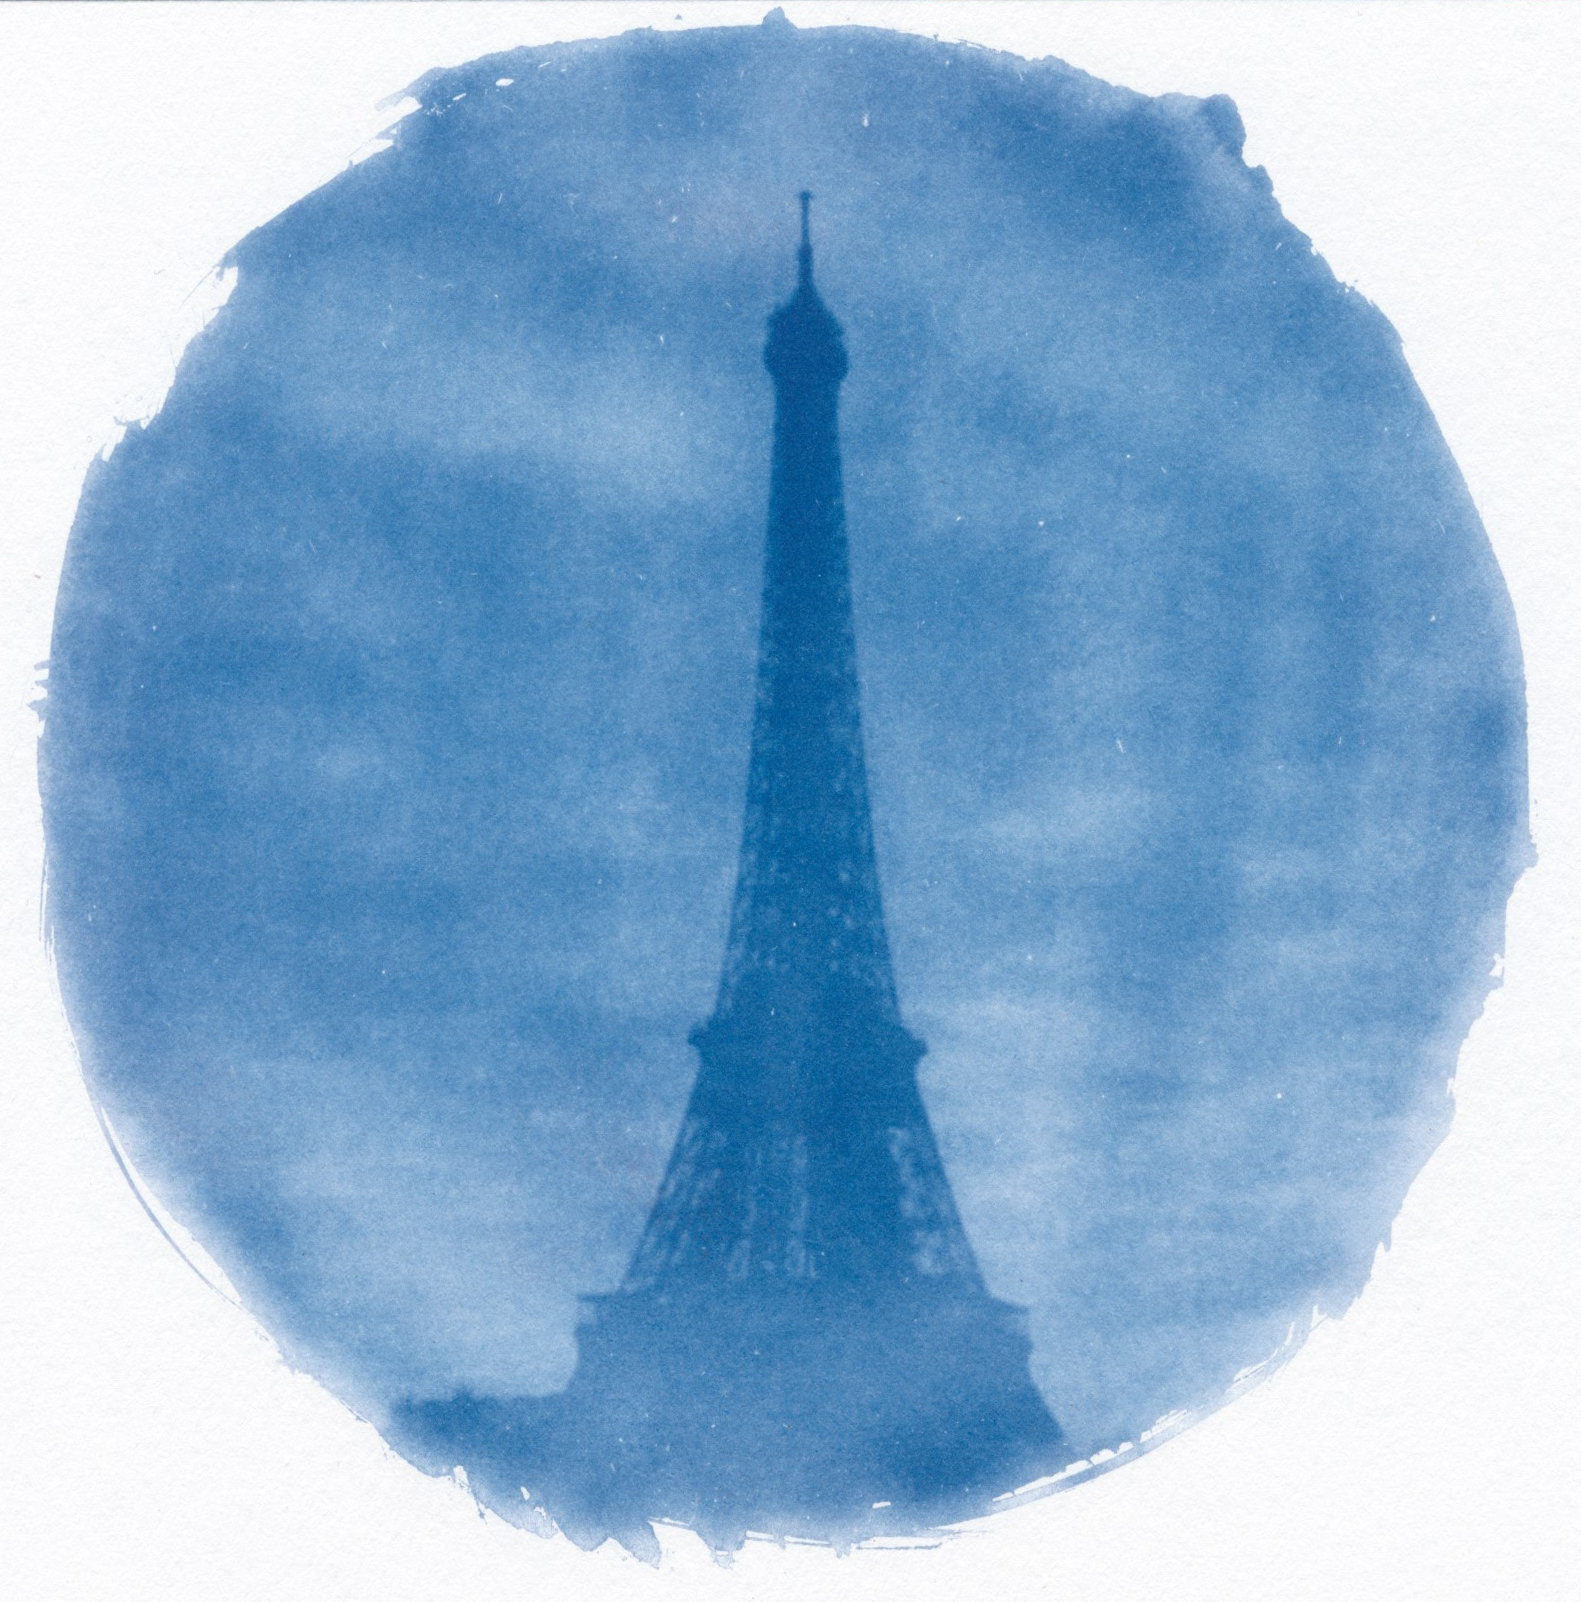
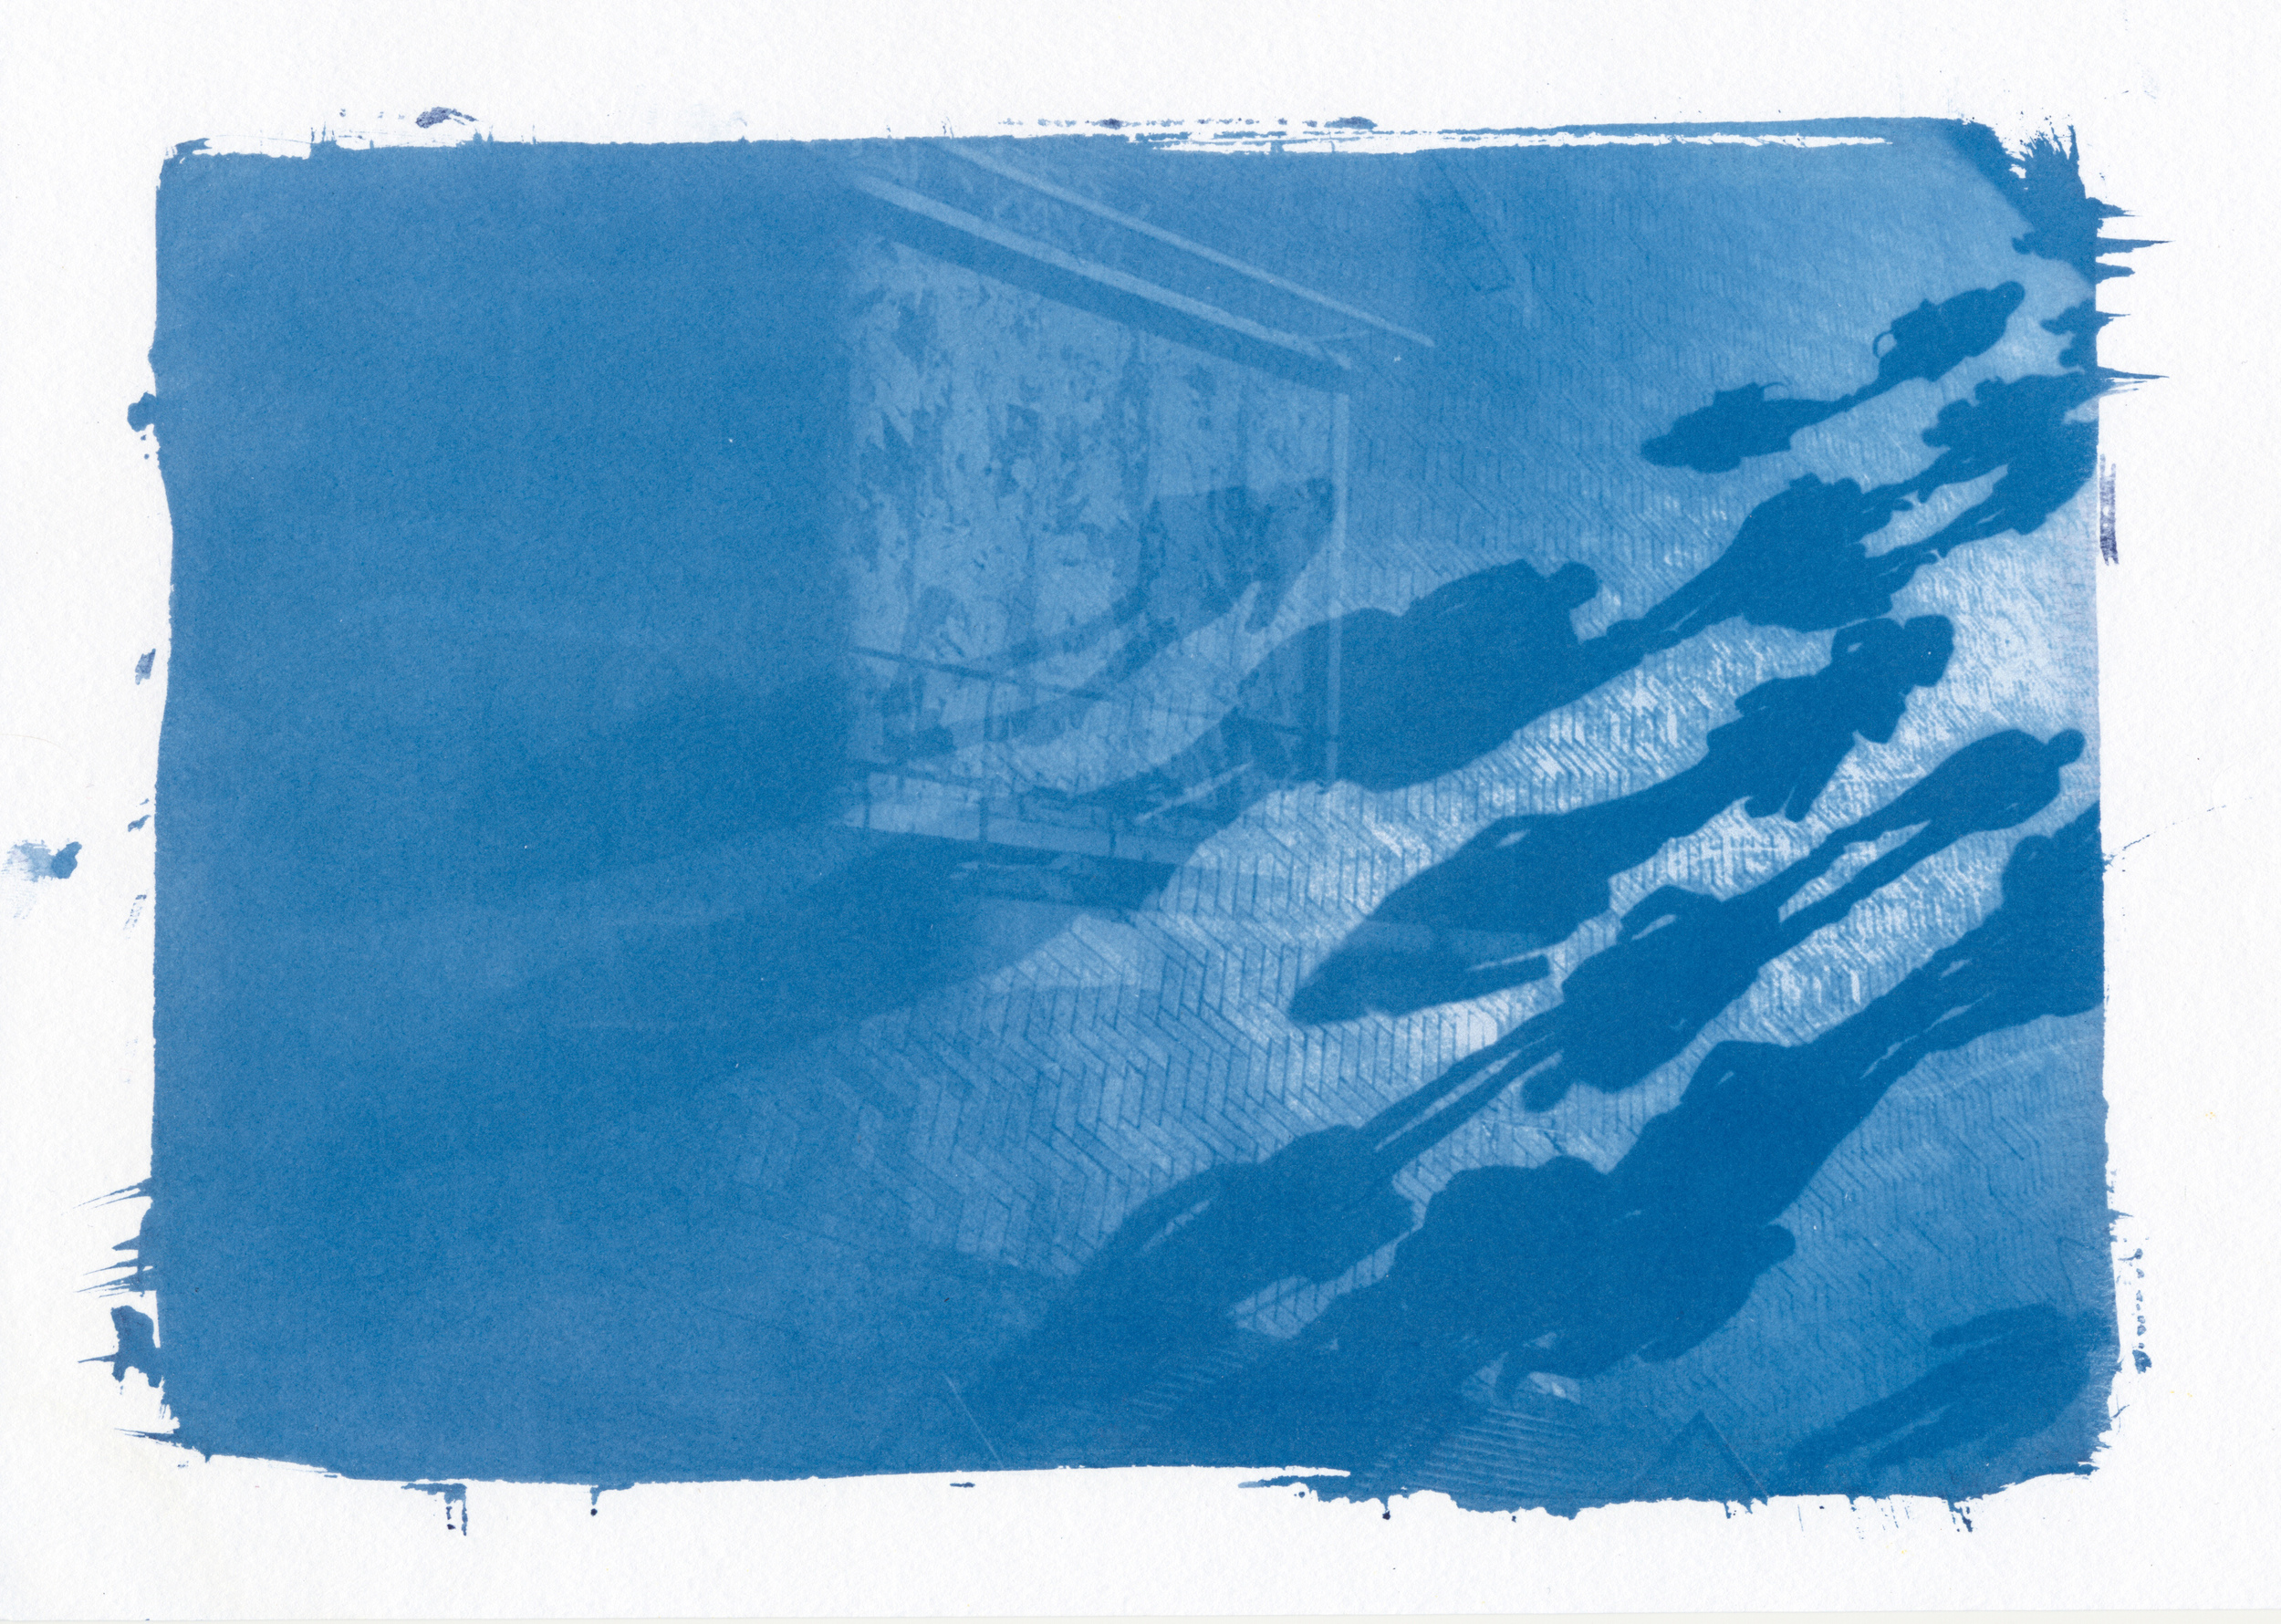

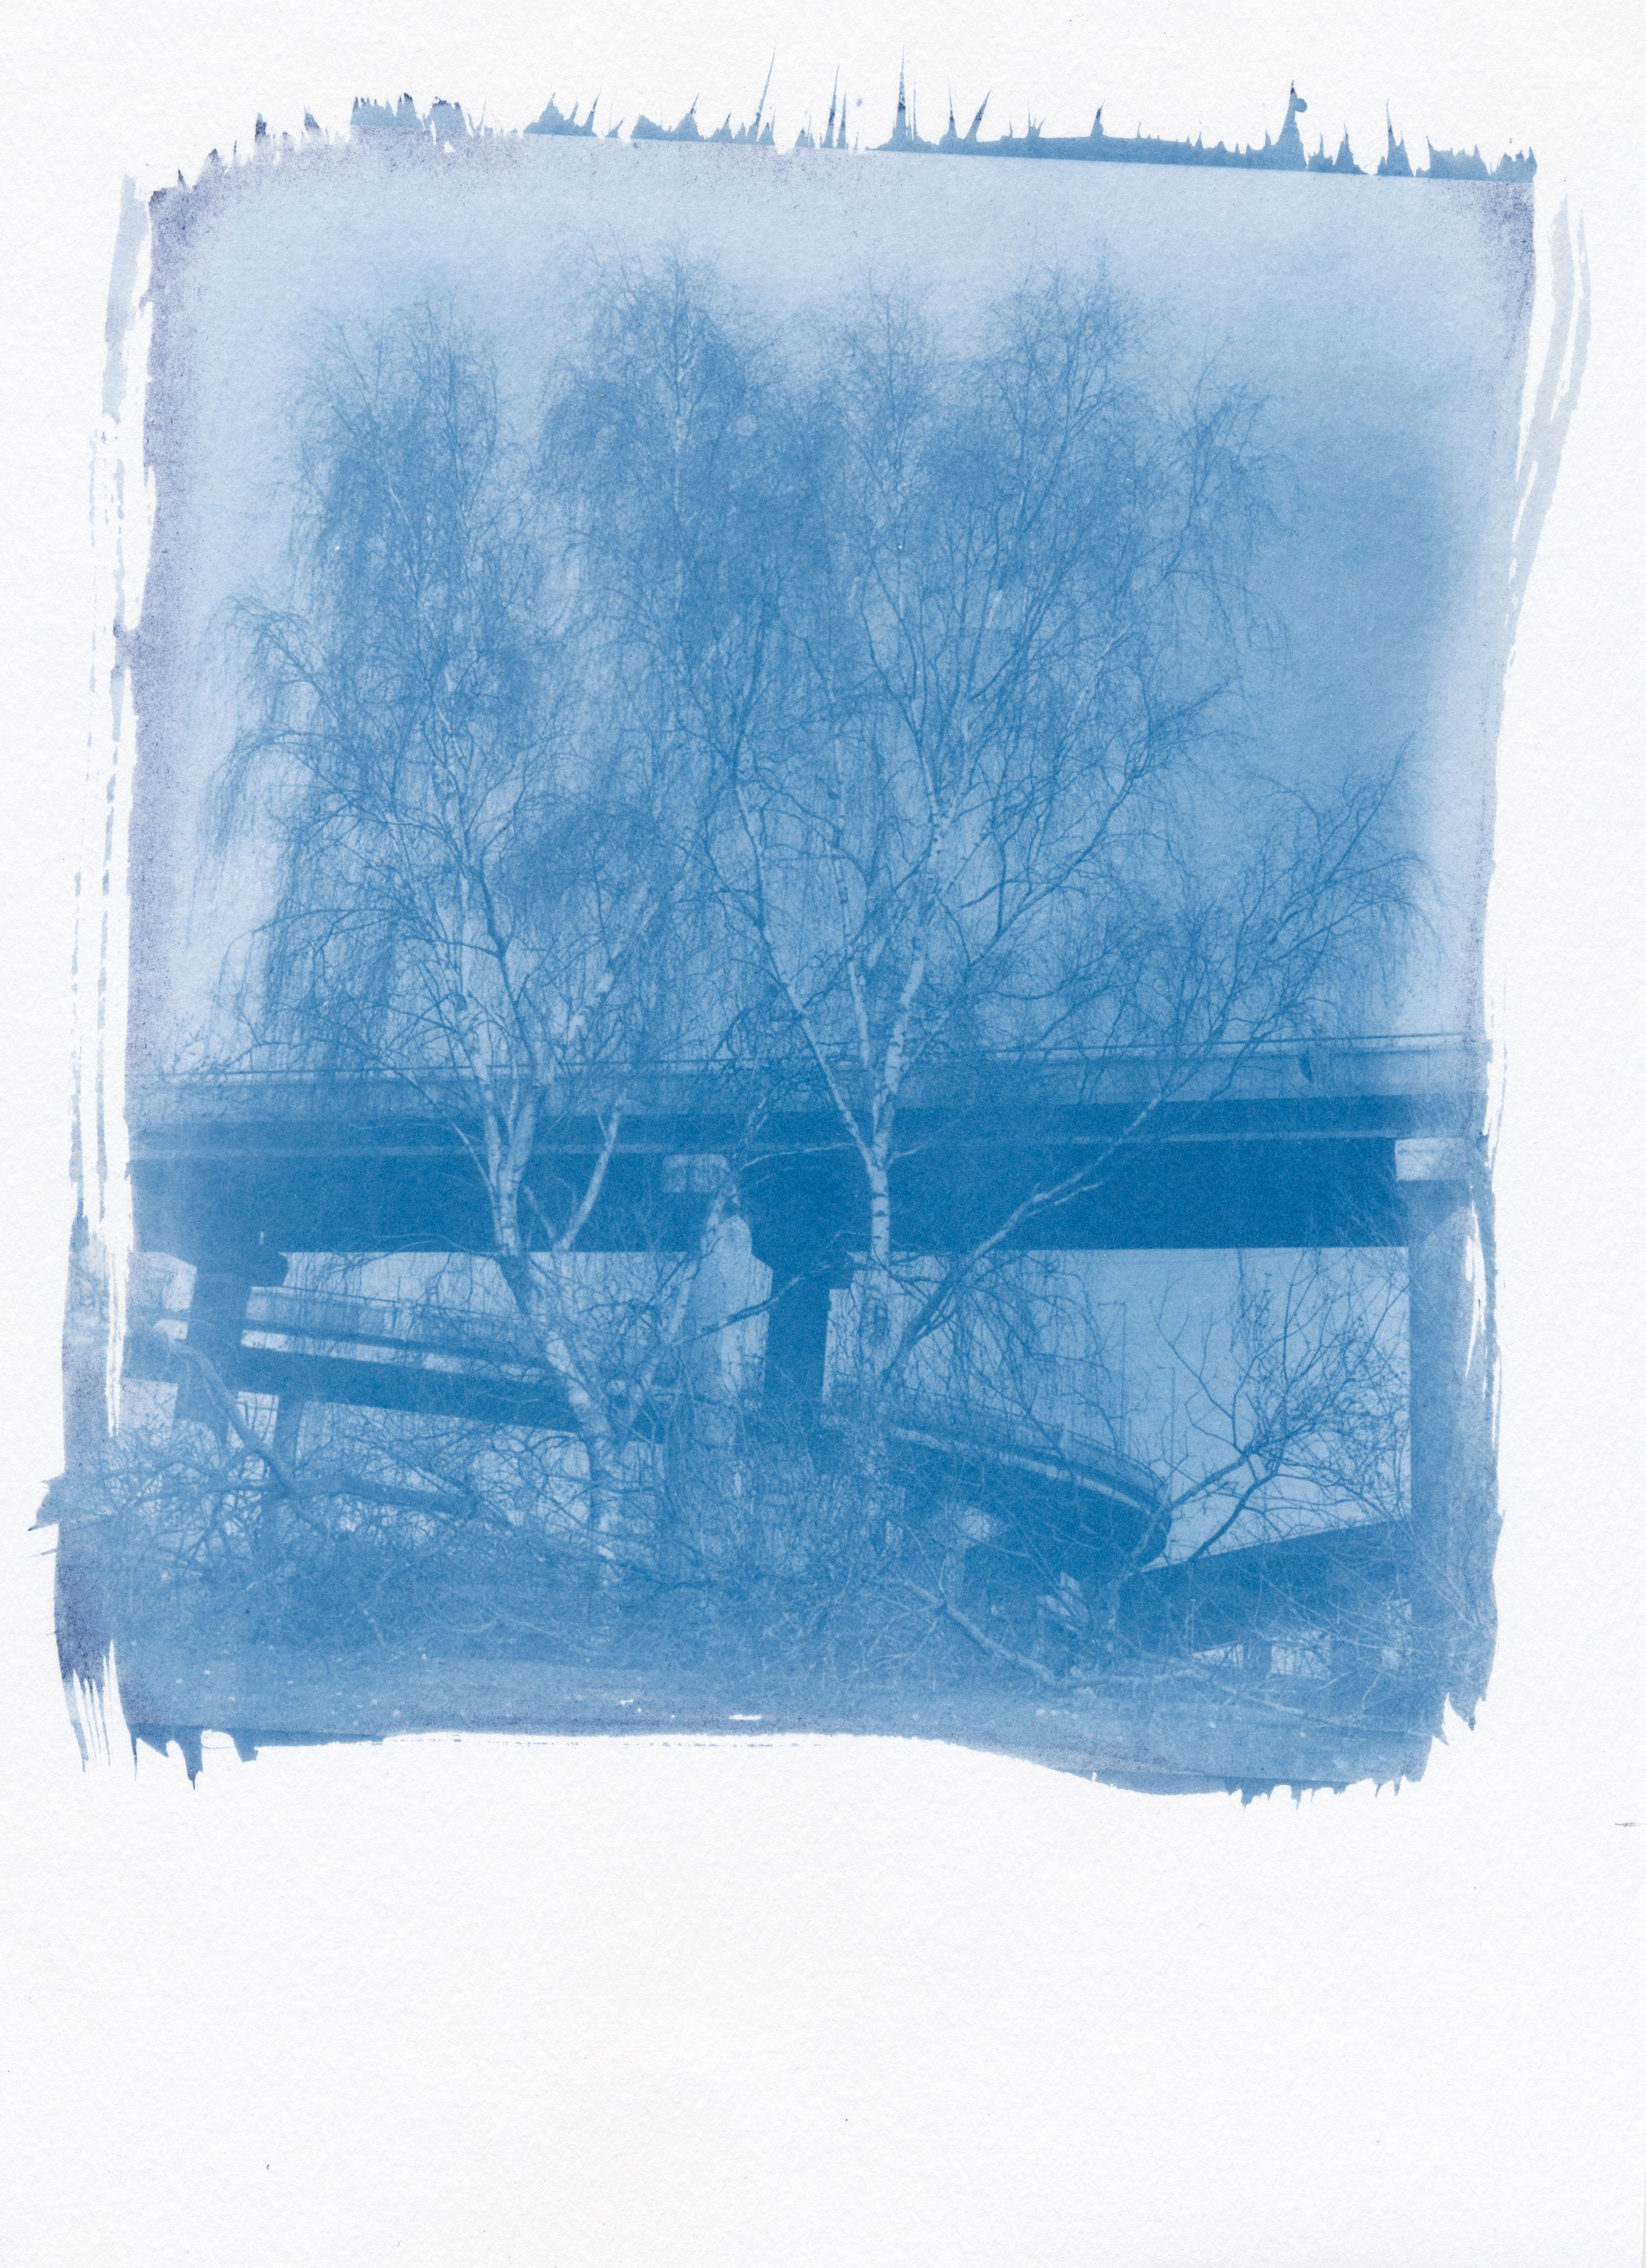
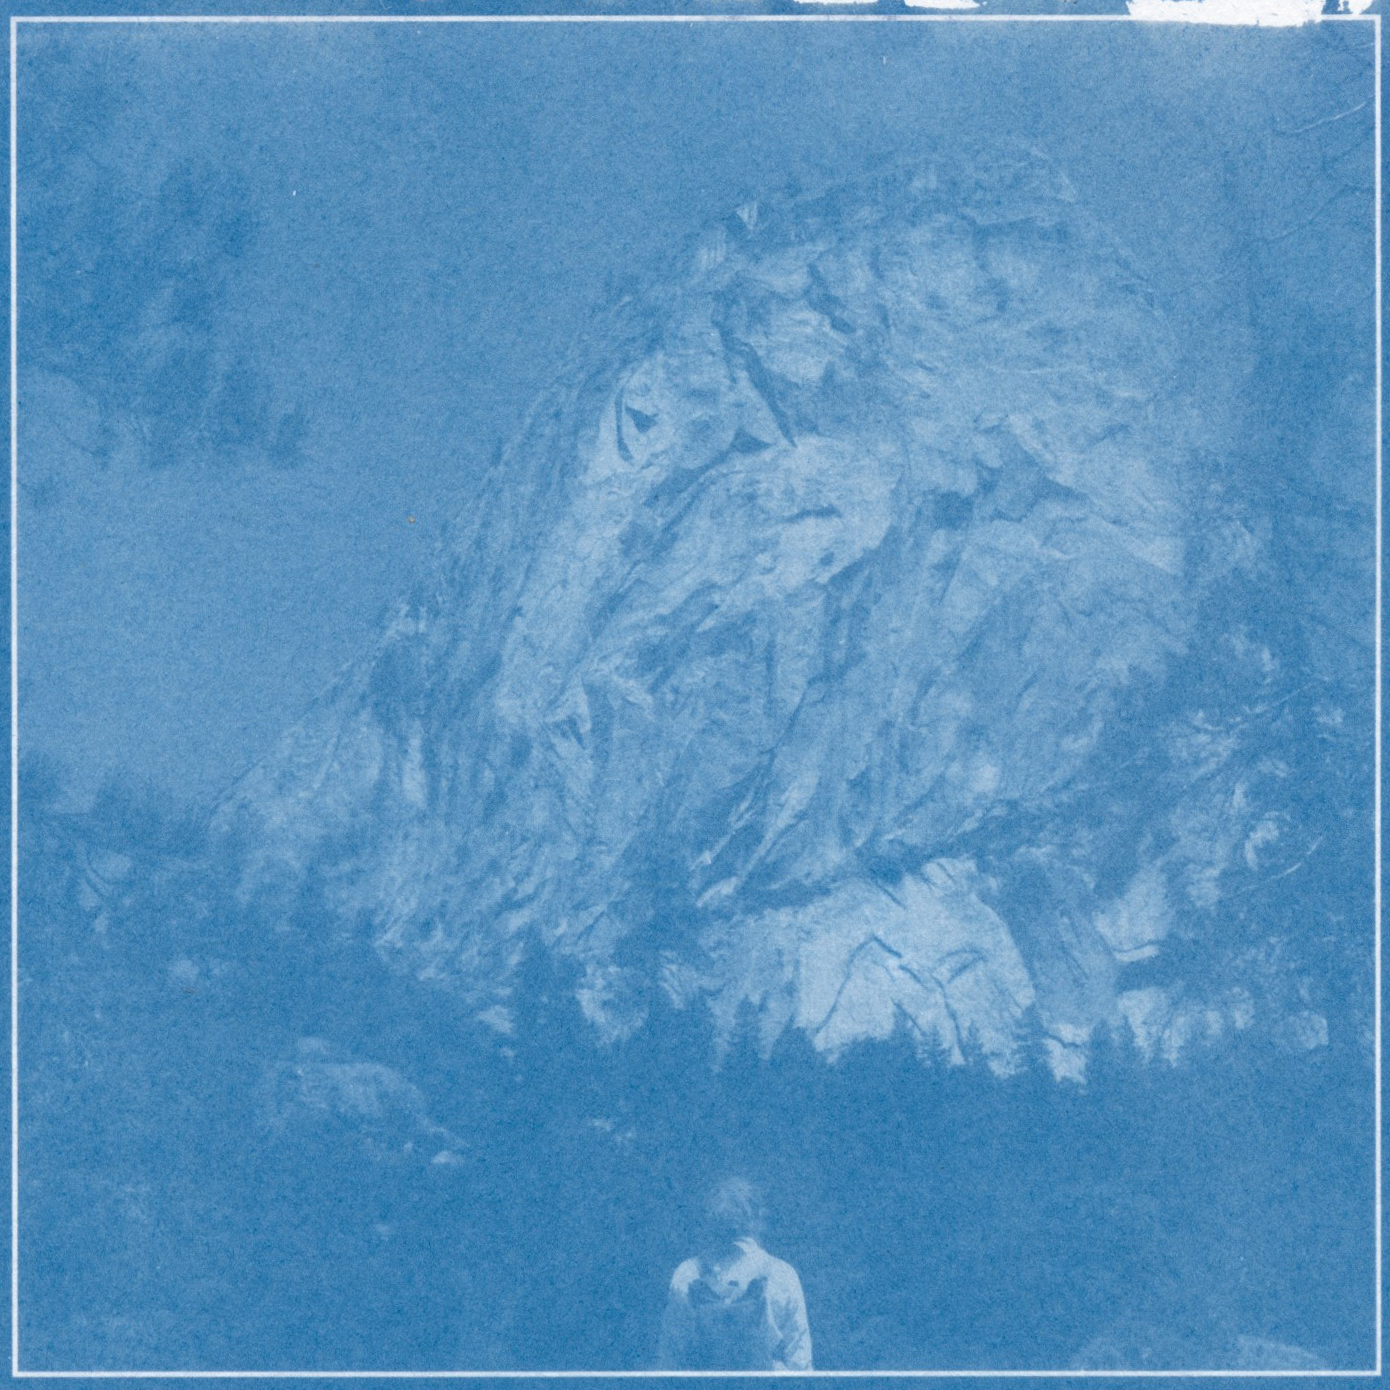

All prints have been hand made using the traditional cyanotype process on heavy weight acid-free art paper.
Cyanotypes involve applying light sensitive emulsion by brush and then exposing the image directly onto the paper with either sunlight or in the case of British winters, UV lamp.
Each one is individually made - variations in brush strokes and the intensity of UV mean that every print is unique.